前言
近期做了一个前后端合并的spring boot项目,但是要求打包城exe文件,提供给不懂电脑的小白安装使用,就去研究了半天,踩了很多坑,写这篇文章,是想看到这篇文章的人,按照我的步骤走,能少踩坑。
准备
准备工作:
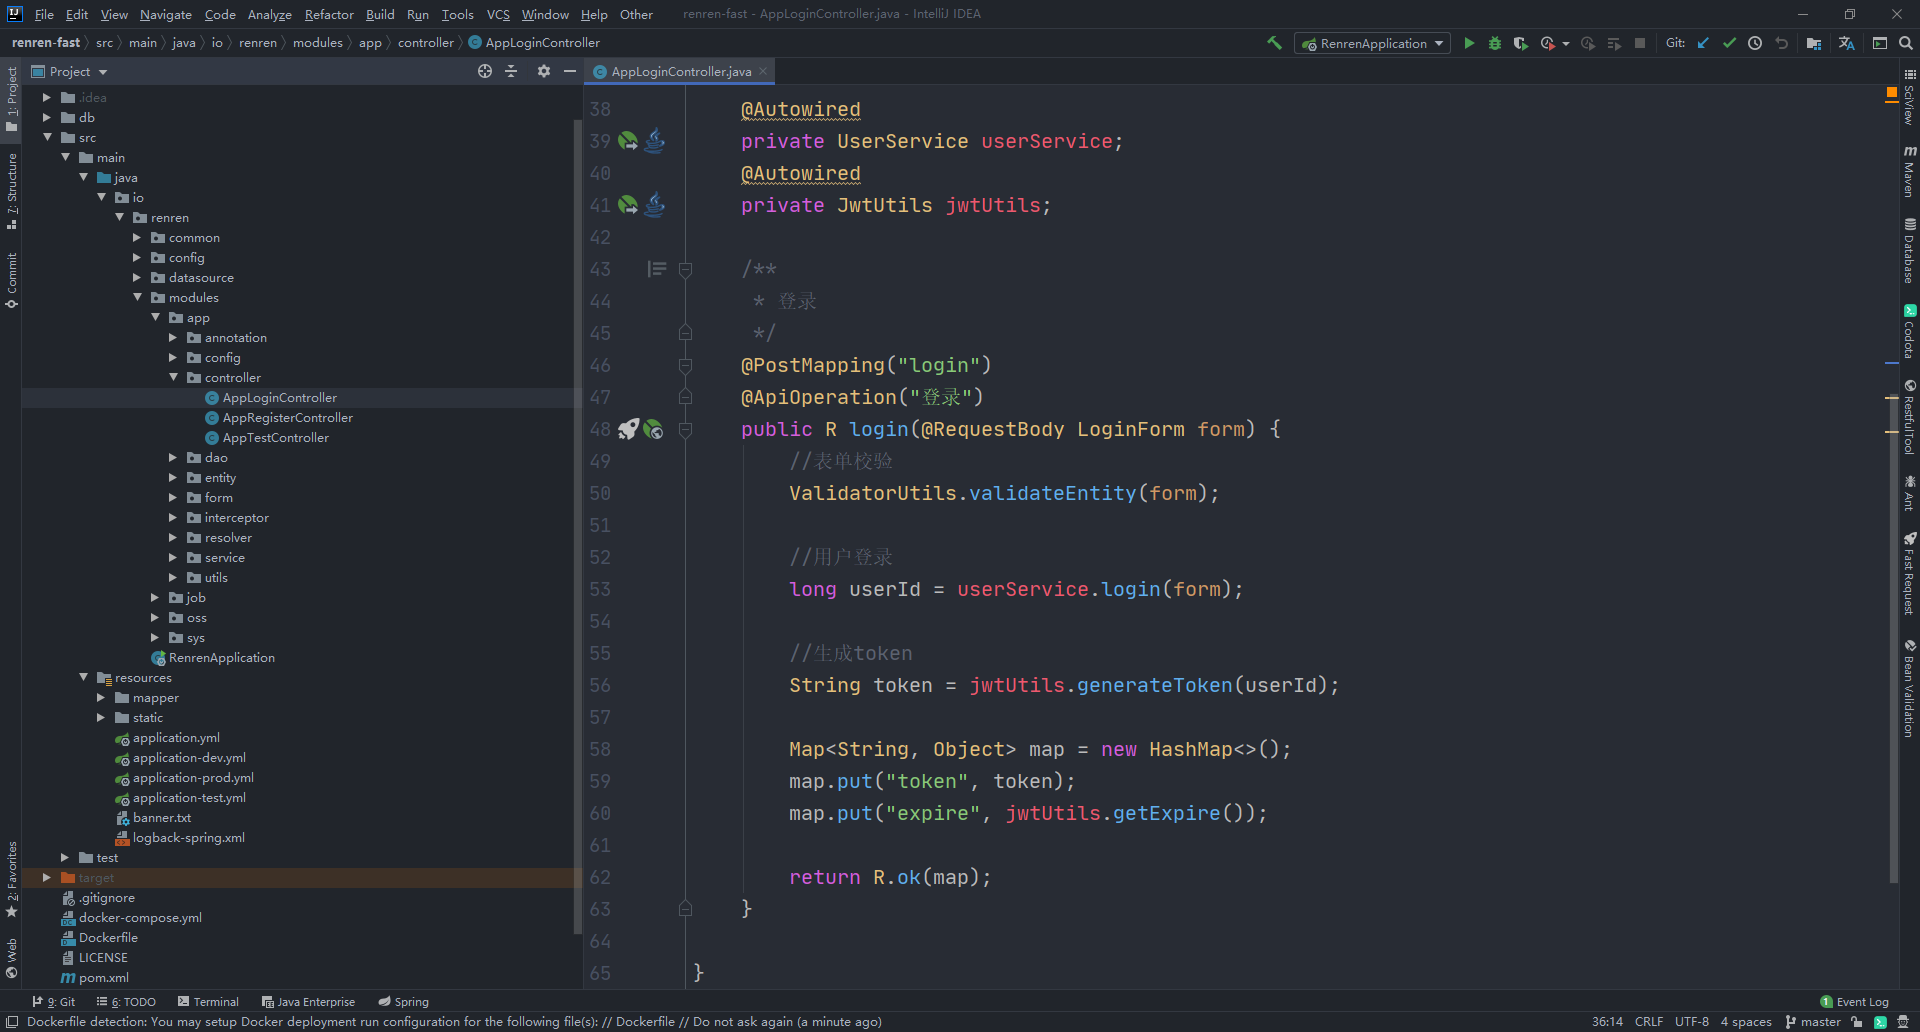
- 一个jar包,没有bug能正常启动的jar包
- exe4j,一个将jar转换成exe的工具,链接:
https://pan.baidu.com/s/1J30uUMJcYnqWCJSr6gkM5w提取码:6esr
注册码:L-g782dn2d-1f1yqxx1rv1sqd - inno setup,一个将依赖和exe一起打成一个安装程序的工具,链接:
https://pan.baidu.com/s/1DgFo1ceM\_8Bqx\_b-veibbQ提取码:g9jd
开始
以我为例子,我将jar包放在了桌面
jar包放在桌面打开安装好的exe4j
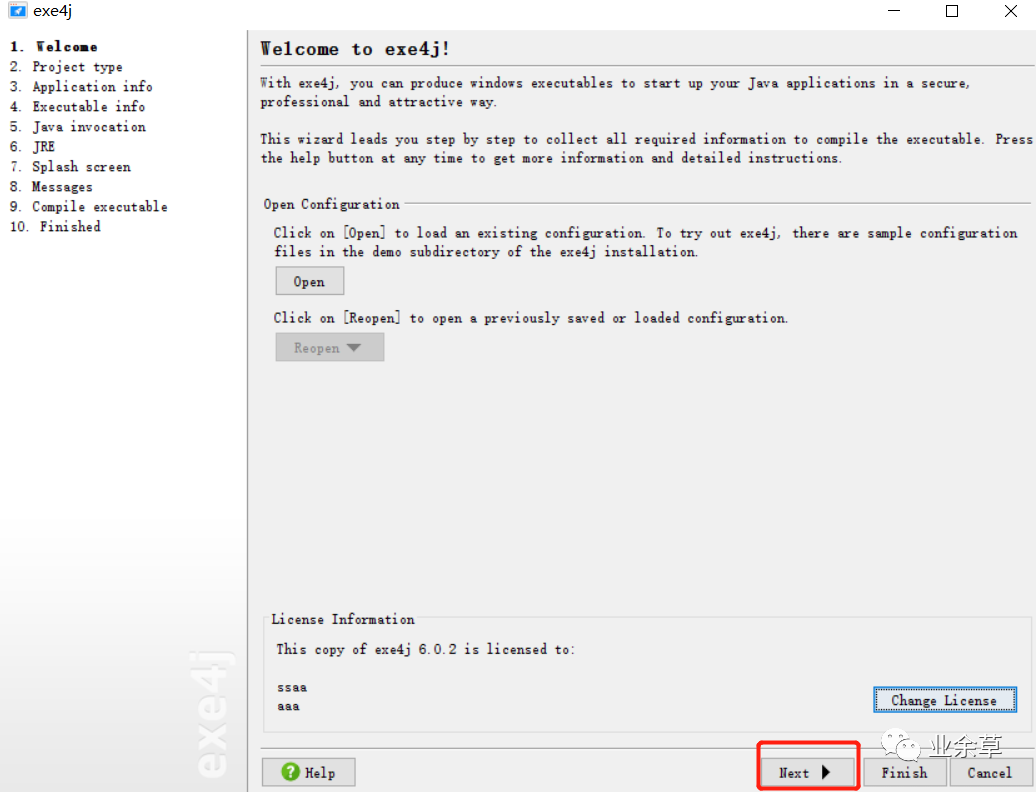
打开exe4j直接下一步进入界面,选择JAVA转EXE
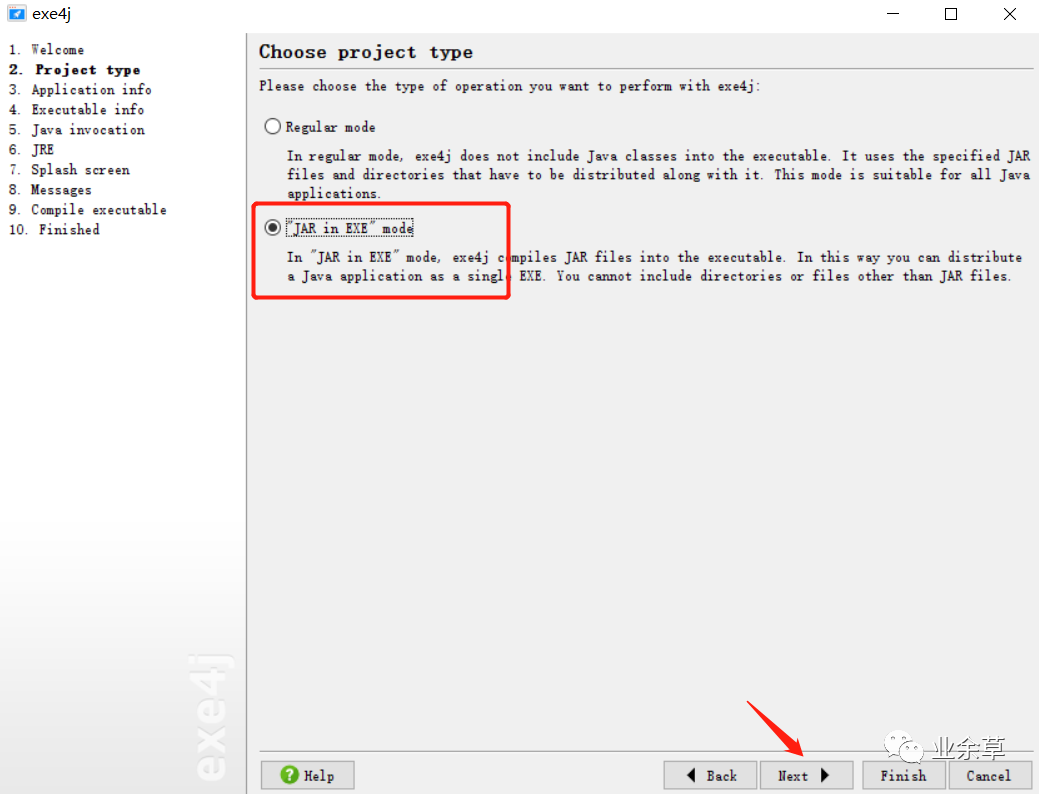
JAVA转EXE然后点下一步,输入名称和输出路径
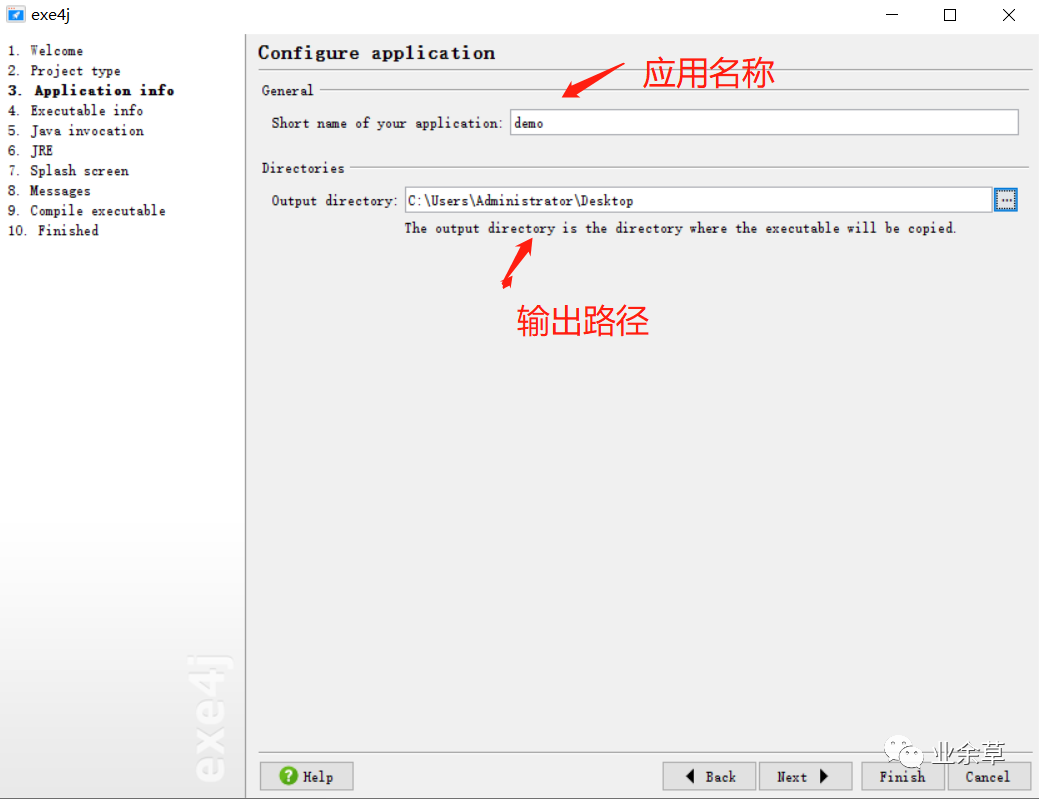
输入名称和输出路径继续点击下一步,选择启动模式
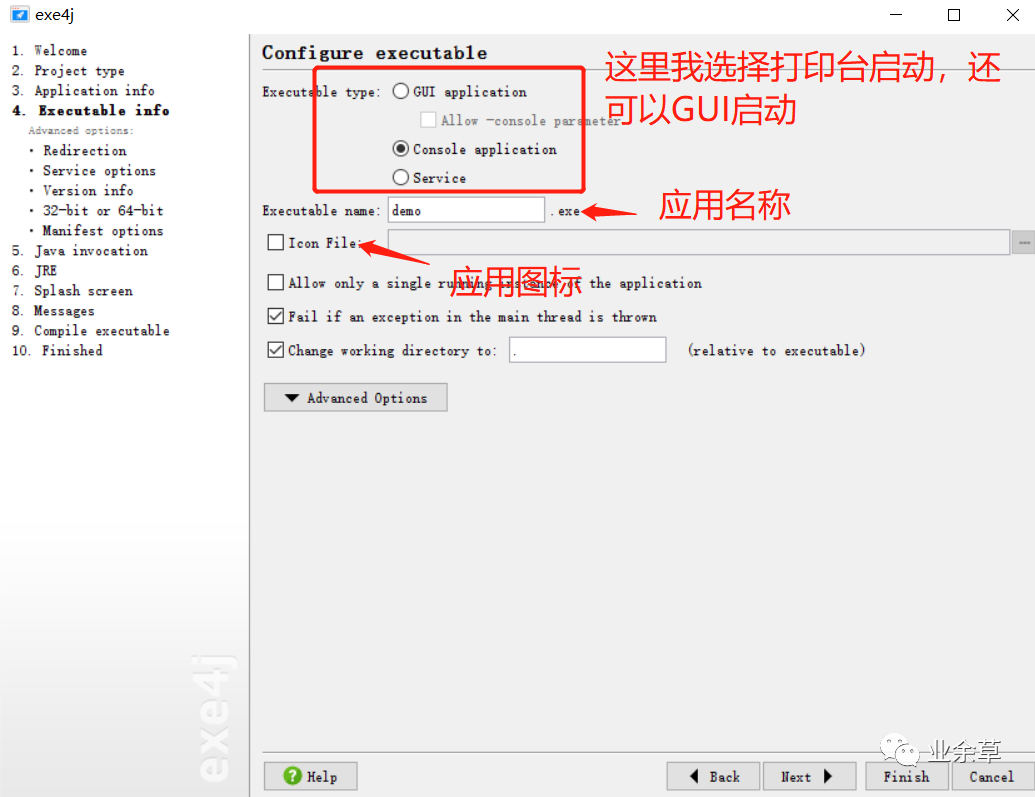
选择启动模式下方有个选项,需要设置打包后的程序兼容32和64位系统

兼容32和64位系统进来后勾选上
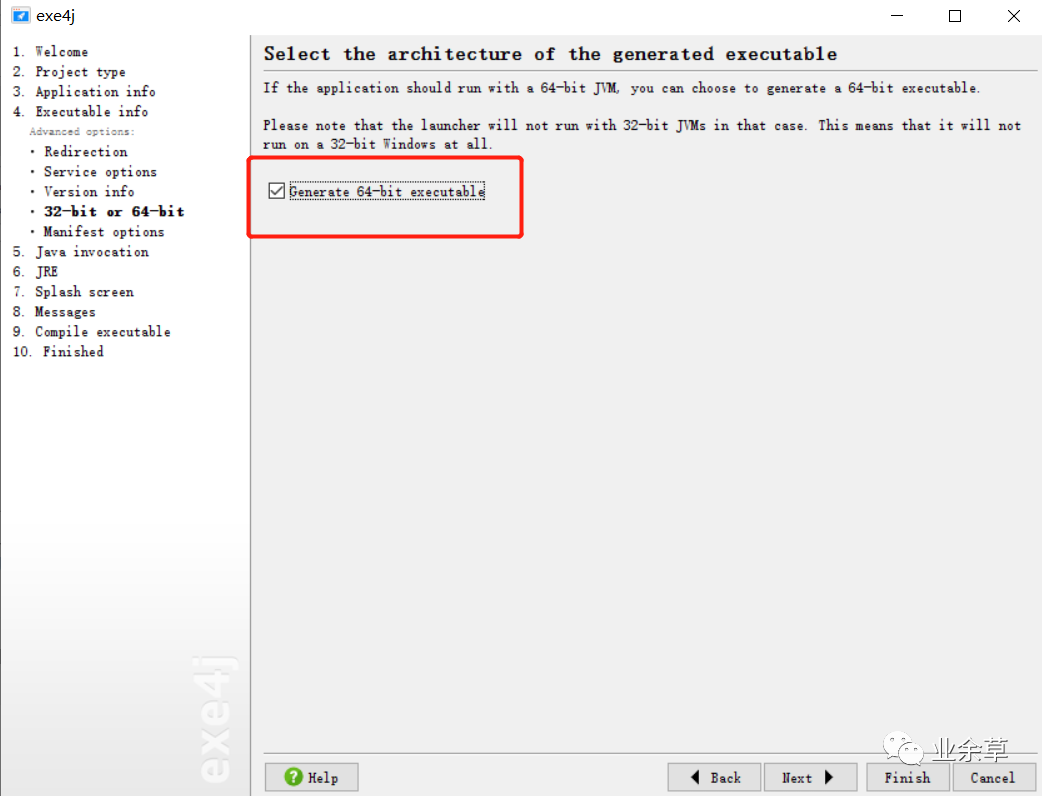
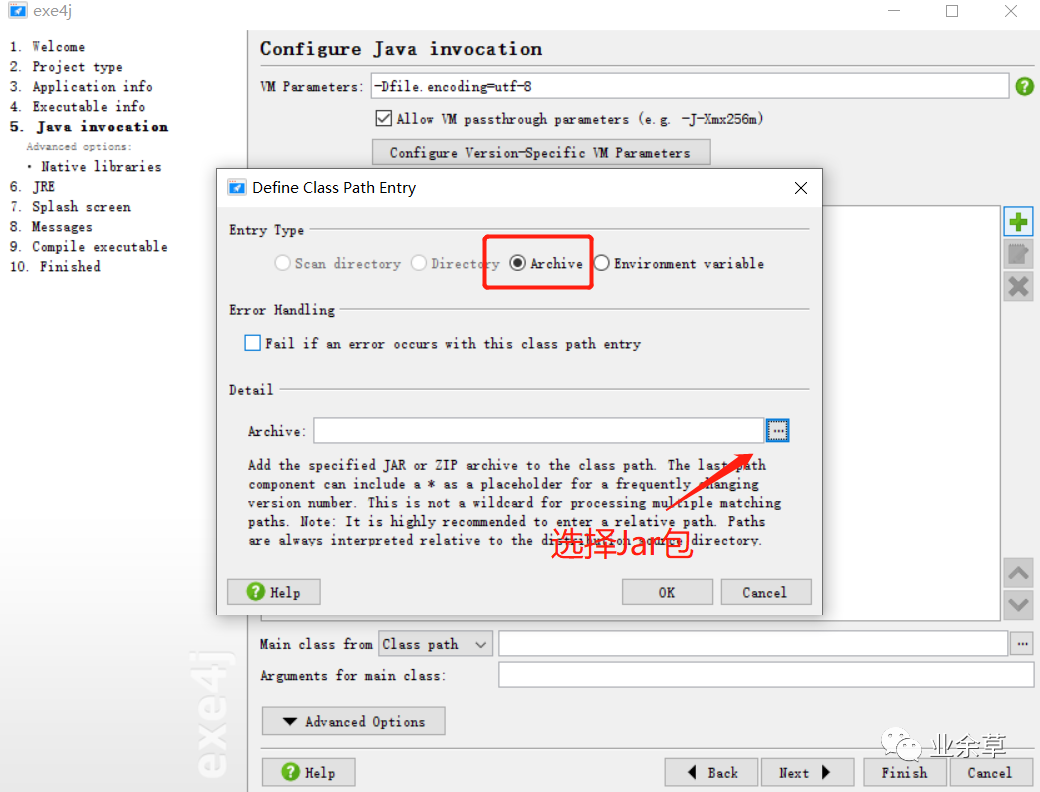
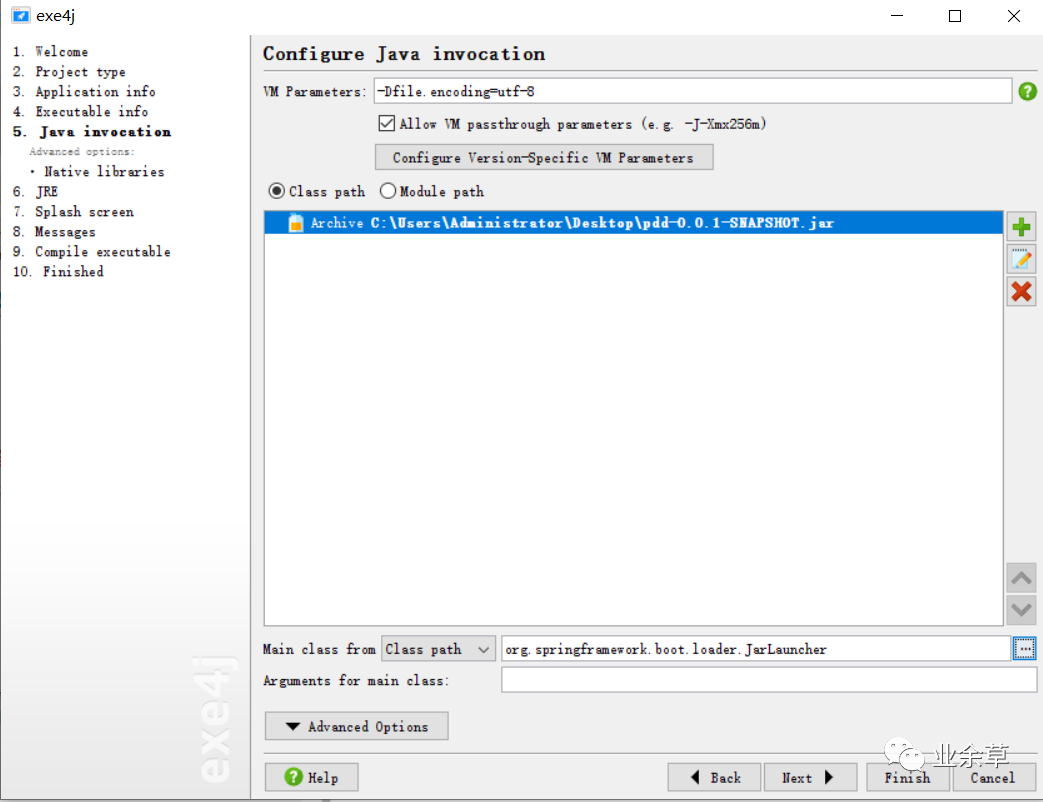
勾选然后一直下一步,一直出现如下界面,开始选择jar包以及配置在VM参数配置的地方加上:-Dfile.encoding=utf-8
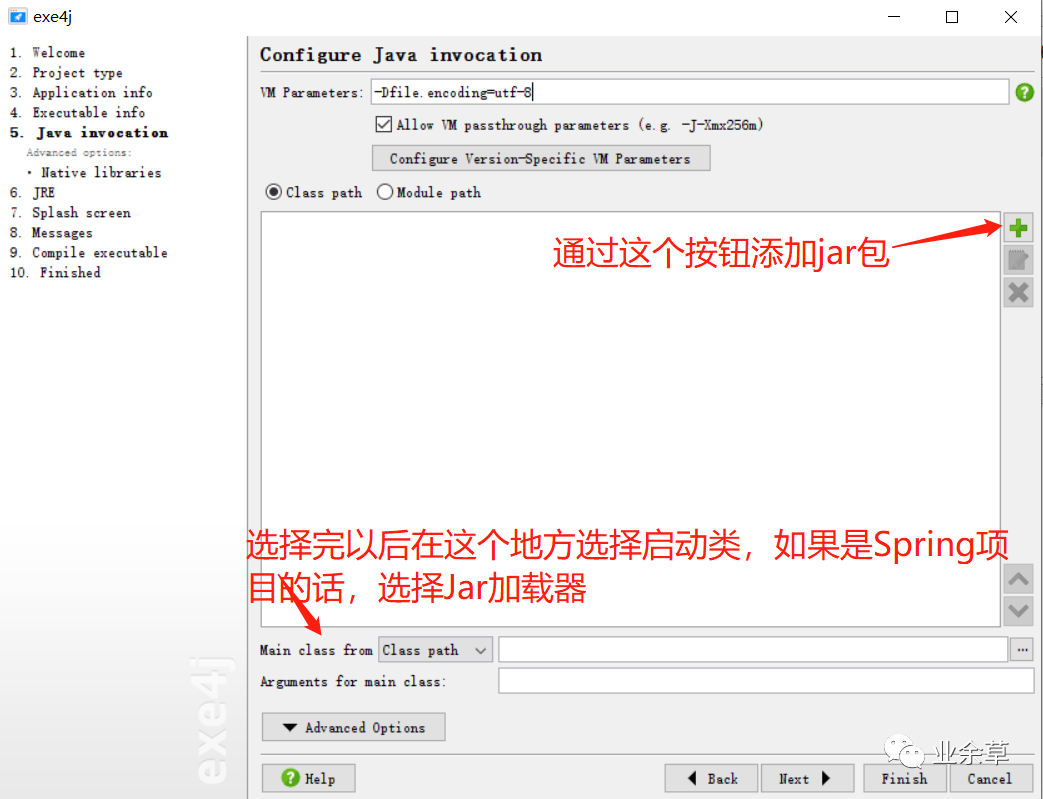
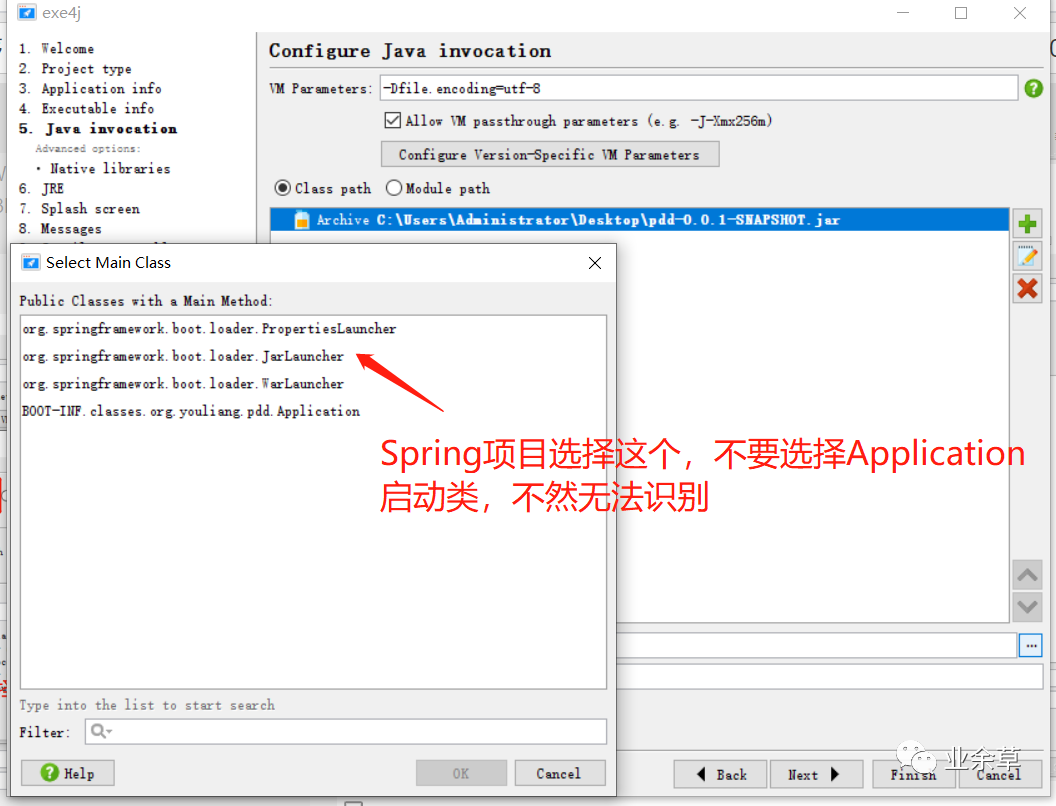
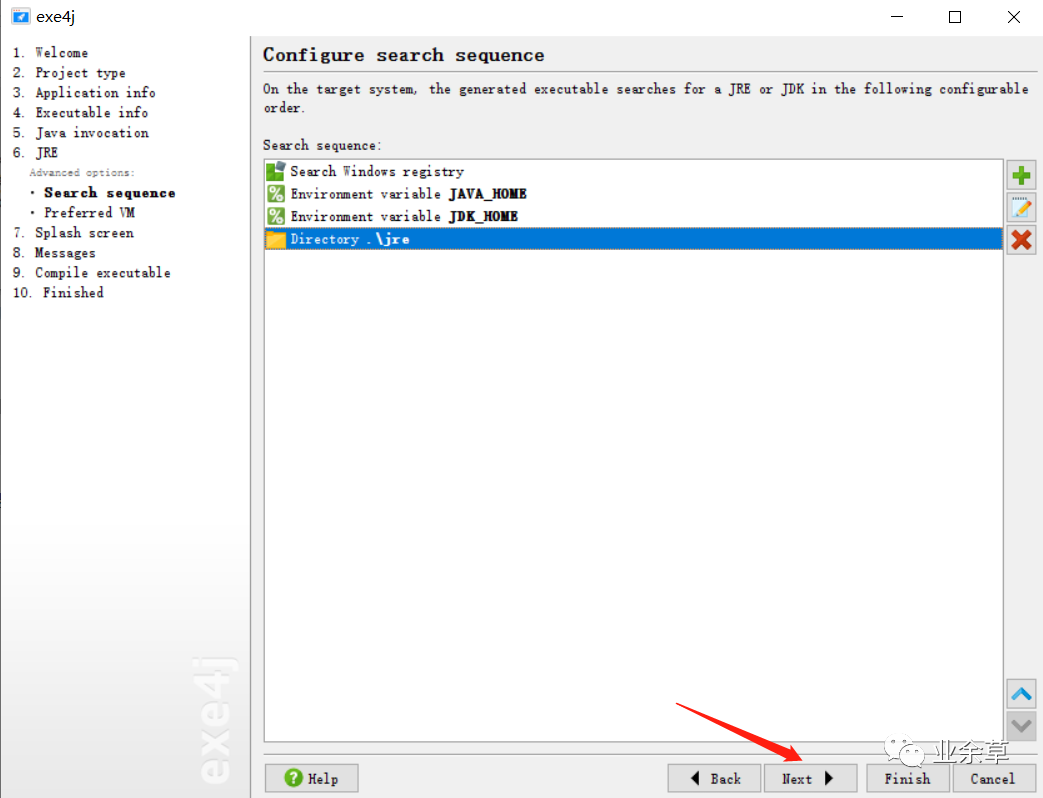
点击下一步,配置JRE
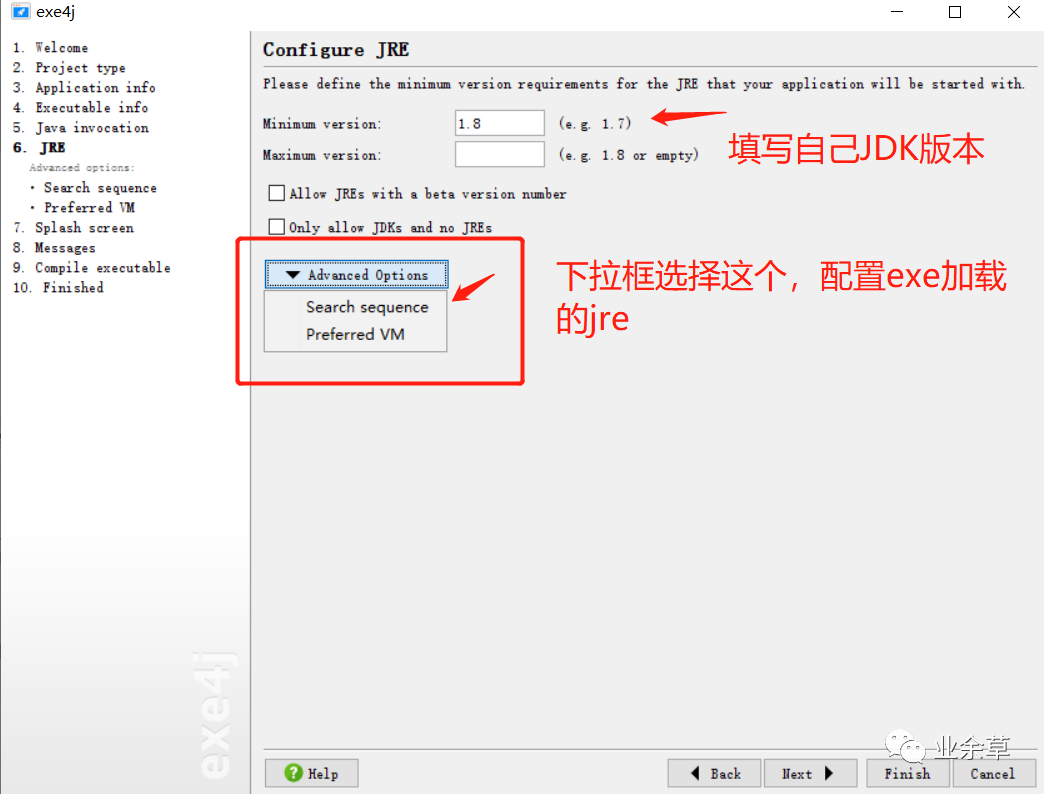
配置JRE下拉框点击后进入如下界面
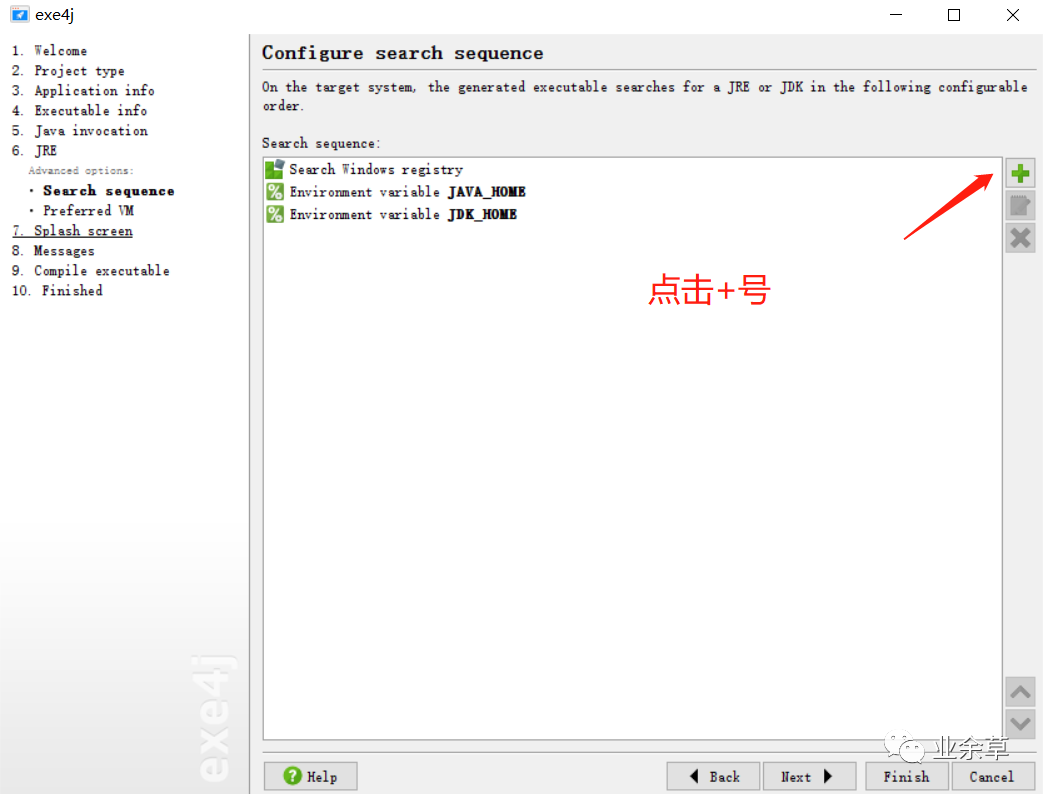

下拉框点击
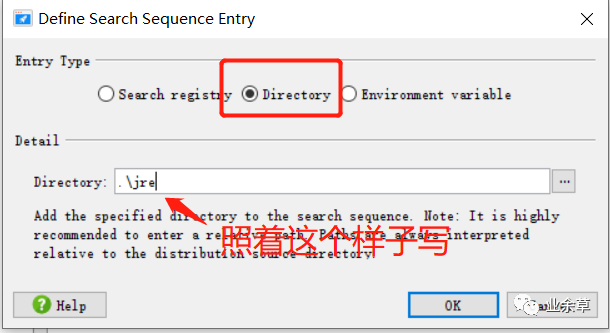
照着这个样子写的目的是,最终会把本地jre目录和exe一起打包,让exe文件自己去根据路径去查找一起打包的jre,可不用再安装jdk
接着下一步,选择Client VM
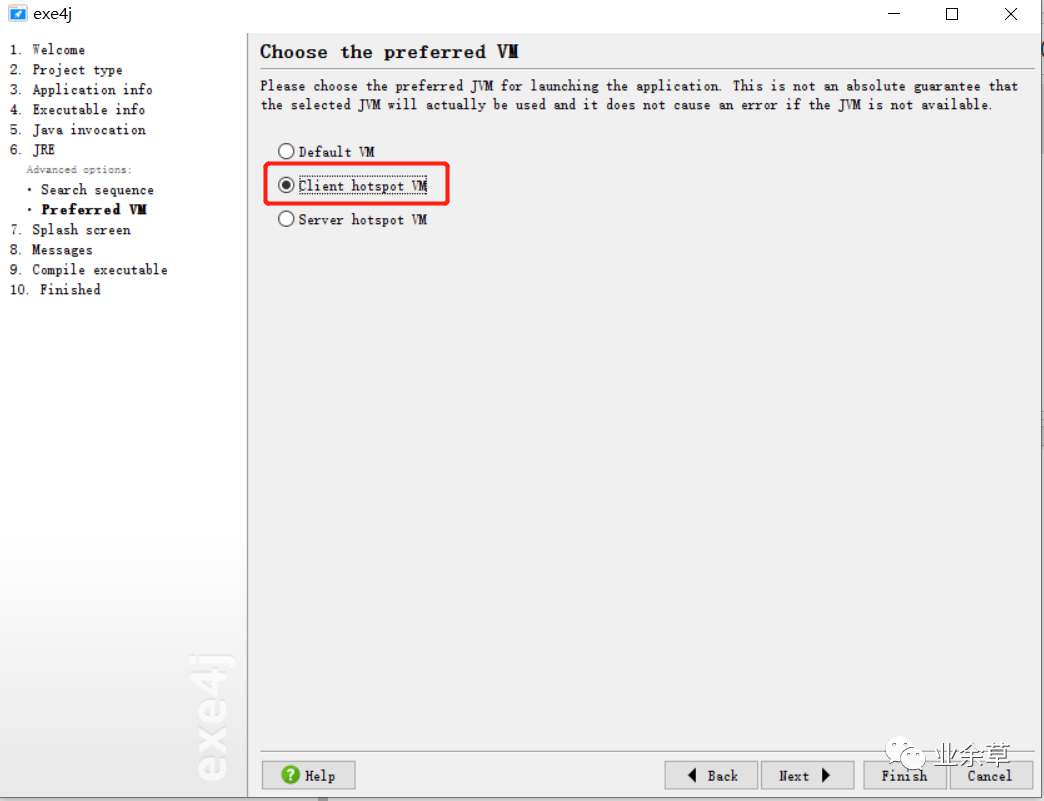
选择Client VM然后一直下一步,最终出现如下界面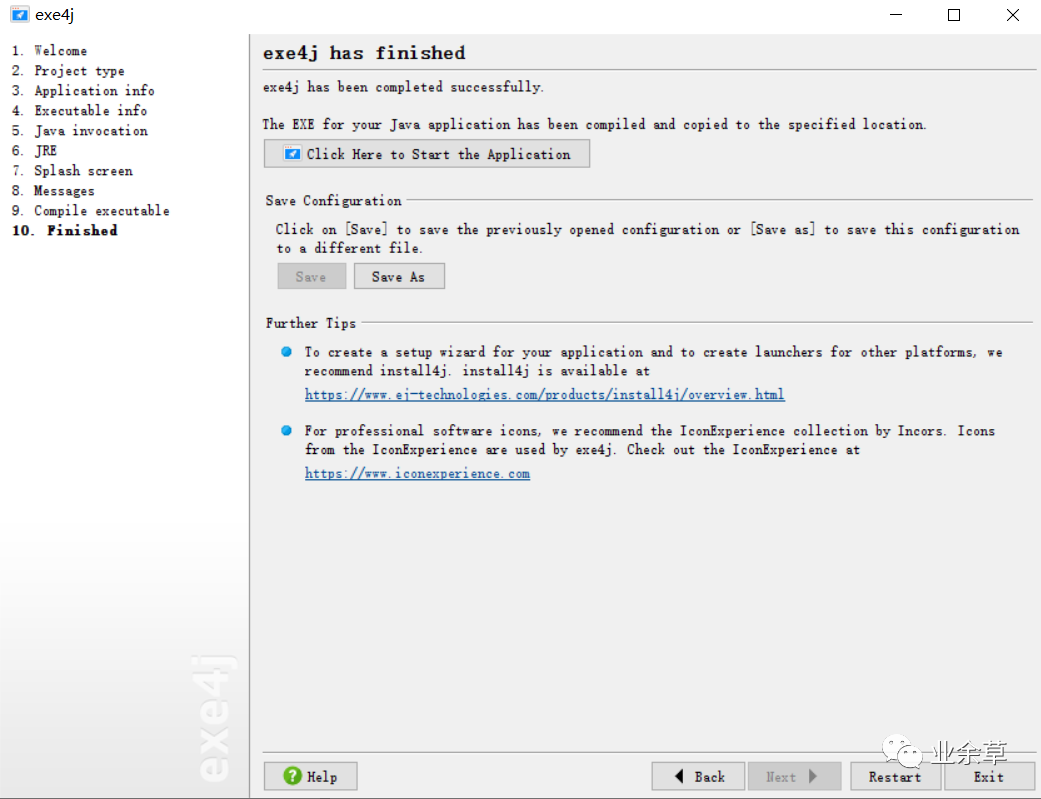
这个时候你会发现桌面多了一个demo.exe文件,这个时候先别着急点开,接下来就是将jre和exe文件再打个包合并,达到在没有jdk电脑环境下也能运行打开inno setup,左上角File - New
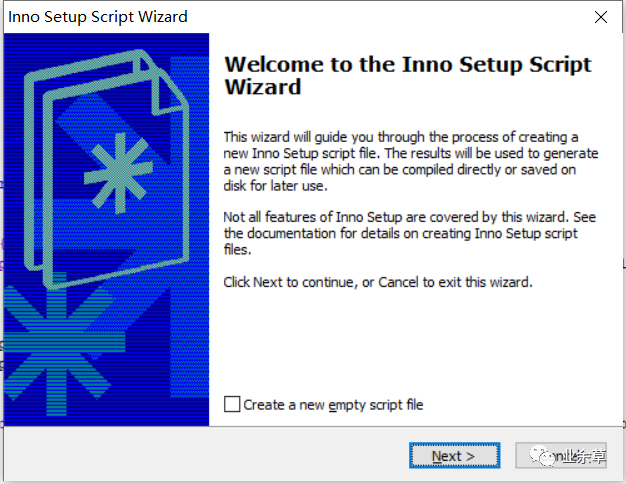
打开inno setup直接点下一步,填写配置,应用名称,版本等,随意
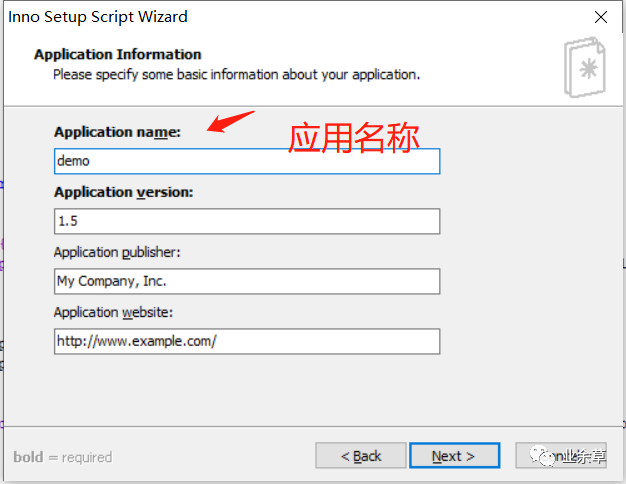
版本然后点击下一步,这个地方默认就行,直接下一步
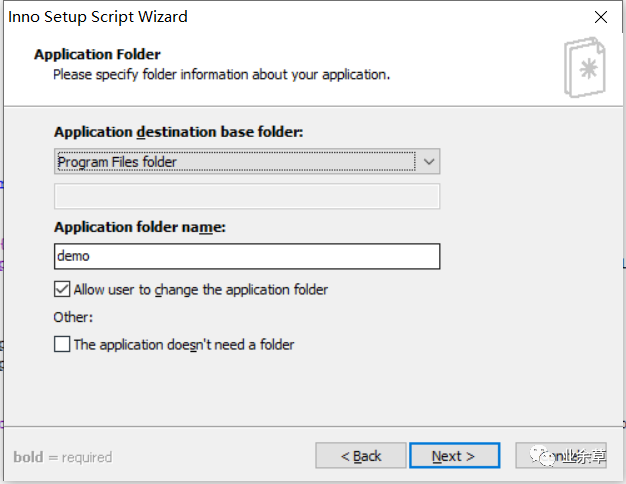
直接下一步接着选择生成好的exe文件
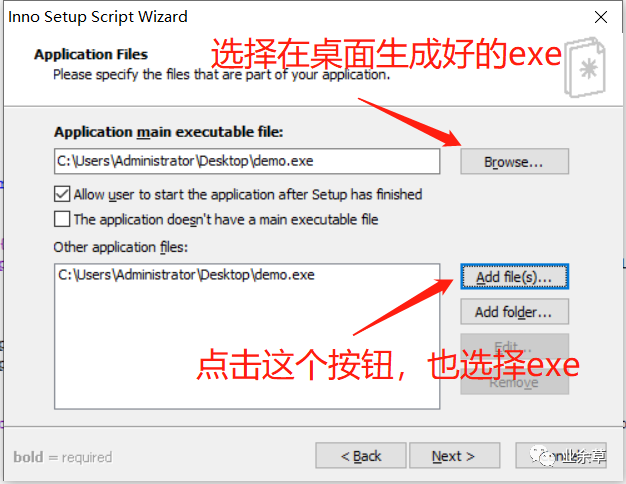
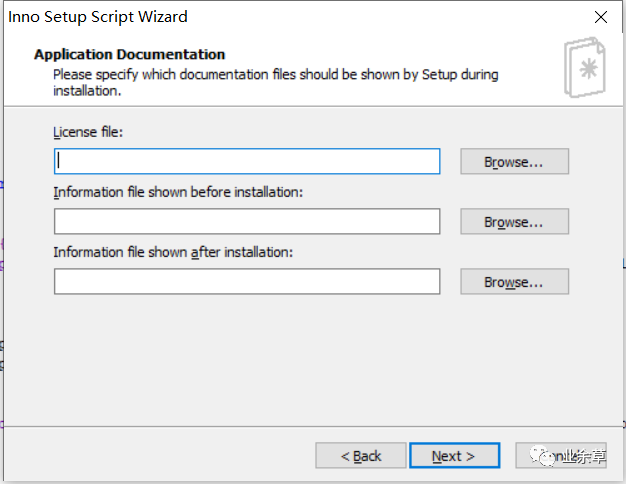
接着选择生成好的exe文件然后下一步,进入这个界面保持默认,直接下一步
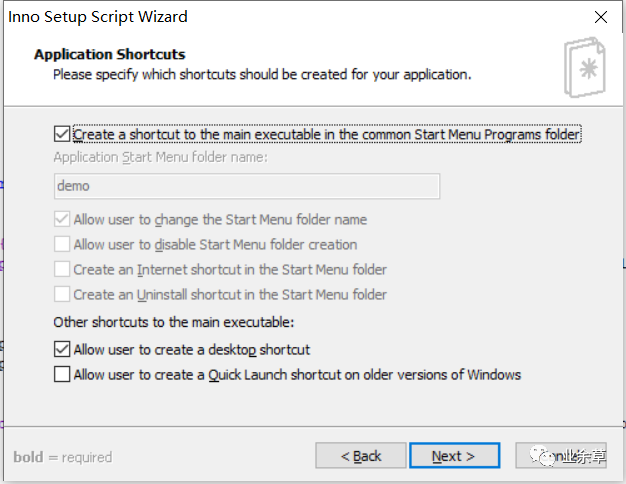
保持默认依旧下一步,不用管
下一步继续下一步,这里是选择语言
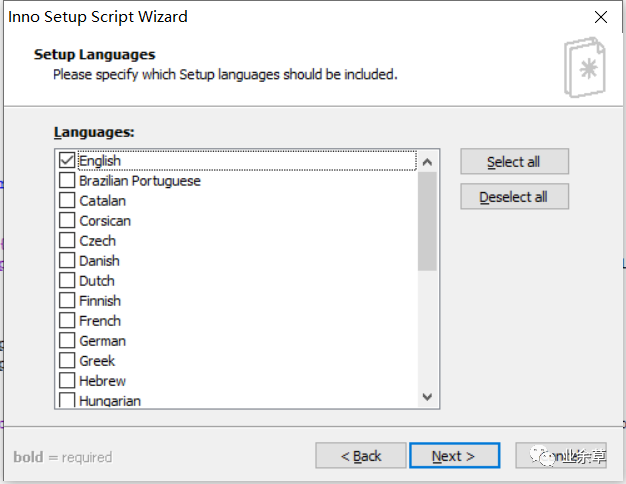
选择语言然后就是选择输出路径和填写安装程序的名字了
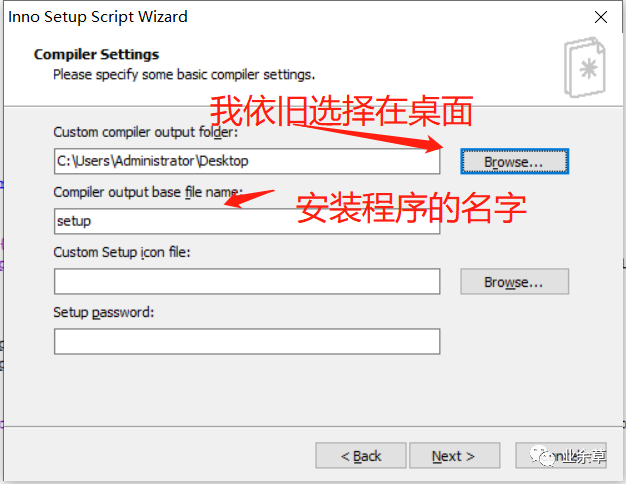
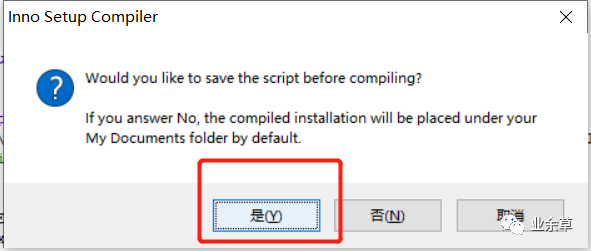
选择输出路径然后下一步,直接点Next,然后结束配置到最后一步了,脚本文件,到这里会弹出问你是否马上编译,选择否,先把脚本写好再自己编译
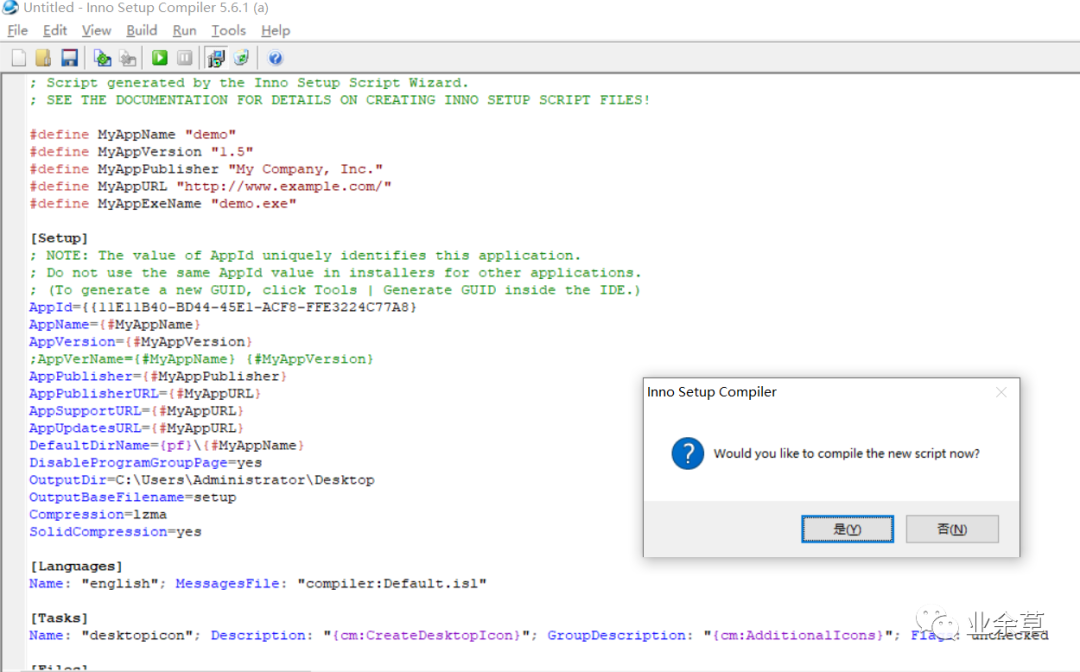
编译然后到了最后一步了,把本地的JRE写进脚本
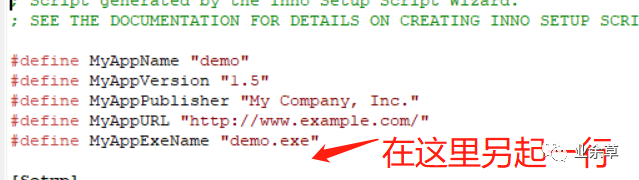
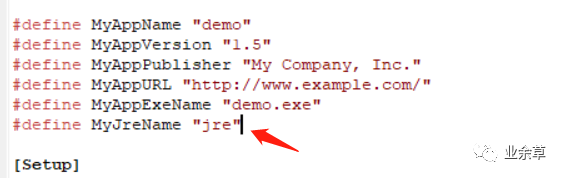


``
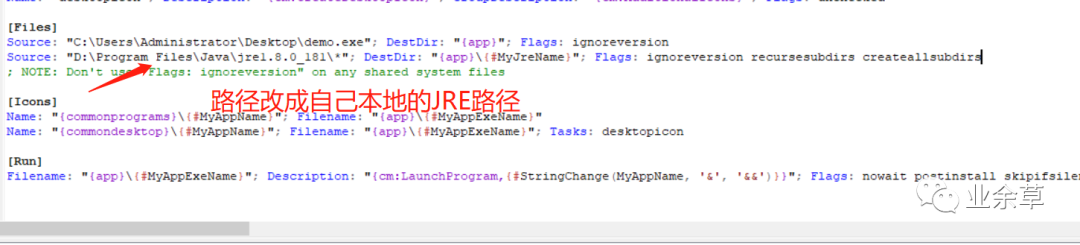
1 | Source: "自己本地JRE路径\*"; DestDir: "{app}\{#MyJreName}"; Flags: ignoreversion recursesubdirs createallsubdirs |
然后直接编译就好了,会提示保存当前脚本,随便起个名字,下个还可以继续用

然后等待绿色滚动条结束
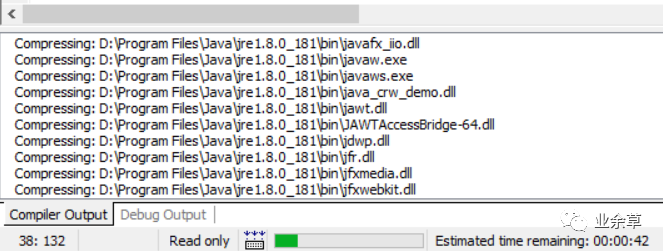
等待绿色滚动条结束当绿色滚动条结束后,桌面会多了一个setup.exe文件
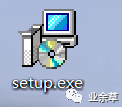
Java打包ext也同时会跳出一个安装的,因为程序帮你自动启动生成的安装程序了,安装就可以了,安装的时候记得勾选创建快捷方式

创建快捷方式这个就是最后的程序了,双击运行就可以看到结果了,把setup.exe文件给别人安装,就都可以看到自己的程序了。